The outdoor kitchen project begins. I have been talking about upgrading the backyard cooking setup for three years — replacing the patchwork of individual grills and the aging smoker with a proper built-in outdoor kitchen. This weekend I started building: a twelve-foot L-shaped counter with a built-in smoker, a gas grill, a charcoal grill, and a flat-top griddle. The counter is concrete block with a tile top. The grills are commercial-grade — the first real investment in cooking equipment that is not a competition smoker but a home kitchen designed to feed crowds.
Roberto came over to supervise. He sat in his lawn chair at the edge of the construction zone and directed: "The smoker goes on the left. The charcoal grill goes in the center — you need to reach both sides. The gas grill goes on the right because you use it least." I followed his instructions because Roberto's understanding of grill layout is absolute and unchallengeable. He designed the cinder block grill in Maryvale in 1988, and it has been the perfect grill for thirty-four years. The man knows fire placement.
The project will take three weekends. I am doing most of the work myself — the block-laying, the framing, the plumbing for the sink (yes, a sink — a prep station with running water, because a proper outdoor kitchen needs water the way a proper fire needs air). Miguel is helping with the electrical (an outlet for the flat-top, lighting under the ramada). Jessica is managing the budget (the project is $4,200, which she has categorized as "R&D for Rivera's" rather than "backyard renovation," because the tax implications are different, and Jessica thinks about tax implications the way I think about bark formation: always).
Sofia asked if she gets her own station in the new kitchen. I said, "The corn station is yours. It always has been." She said, "I want a sign." I am making her a sign. It will say: "Sofia's Station — Corn & Seasonal." She is eight years old and she has a named station in my outdoor kitchen. The future pitmaster of Rivera's is already claiming real estate.
Diego's contribution to the construction project: he carried three concrete blocks from the pallet to the build site, a distance of approximately ten feet. Each block took him four minutes. He was exhausted and proud. "I am helping build, Daddy." You are, buddy. You are building everything.
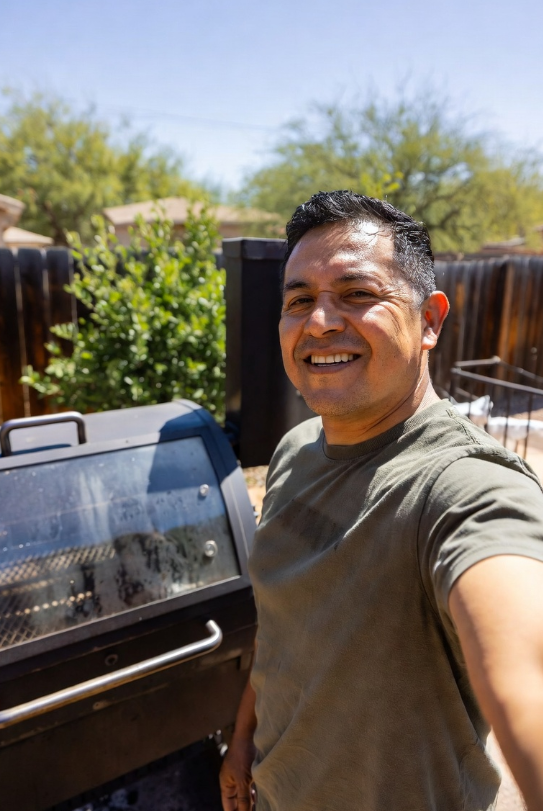
Here’s the funny part: I’m spending three weekends building a twelve-foot outdoor kitchen capable of feeding a crowd, and right now I can’t cook a single thing in my own backyard because it’s a construction zone. Roberto sat in his lawn chair supervising, Diego hauled concrete blocks ten feet at a time like it was an Olympic event, and nobody stopped long enough for a real meal—so I made these icebox sandwiches the night before, stacked them in the cooler, and let the refrigerator do the only cooking that was happening around here. The kitchen that feeds everyone is coming. Until then, you stack what you can and keep it cold.
Quick Icebox Sandwiches
Prep Time: 15 min | Cook Time: 0 min | Total Time: 15 min (plus chilling) | Servings: 8
Ingredients
- 8 sturdy sandwich rolls or hoagie buns, split
- 1/2 cup mayonnaise
- 2 tablespoons yellow mustard
- 1 tablespoon red wine vinegar
- 1/2 teaspoon garlic powder
- 1/2 teaspoon dried oregano
- 1/4 teaspoon black pepper
- 1/2 pound thinly sliced deli turkey
- 1/2 pound thinly sliced deli ham
- 1/4 pound thinly sliced salami
- 8 slices provolone or American cheese
- 2 cups shredded iceberg lettuce
- 2 medium tomatoes, thinly sliced
- 1/2 red onion, thinly sliced
- 8 dill pickle slices
Instructions
- Make the spread. In a small bowl, whisk together mayonnaise, mustard, red wine vinegar, garlic powder, oregano, and black pepper until smooth and well combined.
- Dress the rolls. Spread the mayo mixture generously on both the top and bottom cut sides of each roll. Don’t skip this step—the spread is what keeps the bread from drying out in the cooler.
- Layer the fillings. On each roll bottom, layer turkey, ham, and salami, folding the slices so they fill the roll evenly. Top with a slice of cheese, then tomato, red onion, pickle, and a handful of shredded lettuce.
- Close and press. Set the top of each roll in place and press down firmly. Wrap each sandwich tightly in plastic wrap or butcher paper, pressing as you go to compact the layers.
- Chill. Place wrapped sandwiches in a single layer in the refrigerator or an ice-filled cooler. Let them rest for at least 1 hour—up to 8 hours. The pressing and chilling melds the flavors and makes them easy to grab and eat one-handed.
- Serve cold. Unwrap and cut in half on the diagonal. Serve straight from the cooler. They hold up well for up to 24 hours if kept cold.
Nutrition (per serving)
Calories: 420 | Protein: 24g | Fat: 18g | Carbs: 38g | Fiber: 2g | Sodium: 980mg